


How to connect Ethernet devices to WiFi via WDS

Hi 👋,
In this blog post I will show you how to connect an Ethernet only device to Wi-Fi using an extra router and the WDS functionality. I initially wanted to install the TP Link Archer T4U WiFi adapter driver on my Ubuntu 20.04 PC but unfortunately the driver is no longer supported.
Since I really needed high internet speed for my PC, I decided to connect it via an Ethernet cable and buy another TP-Link router to use in WDS mode.
WDS mode allows routers to communicate with one another without using wires.
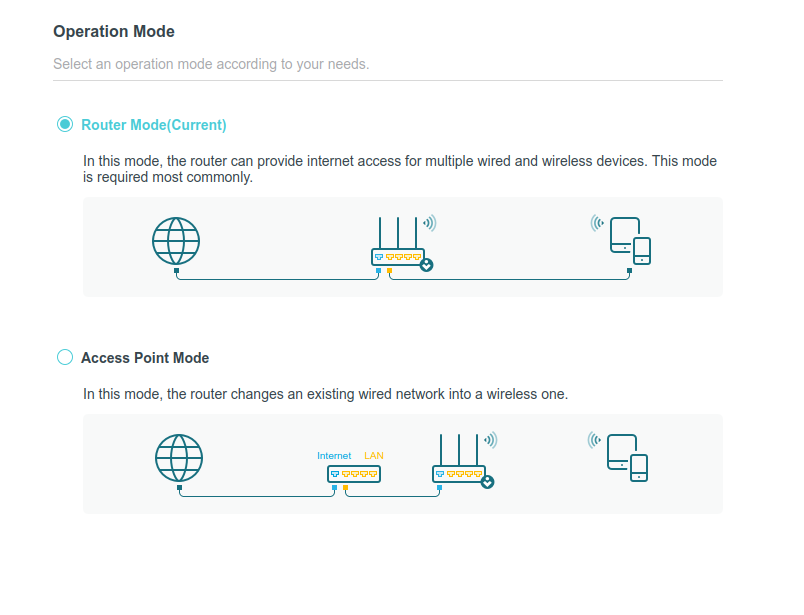
⚙️ The configuration of the WDS router is as follows. I left the operation mode in Router Mode.
Then, I navigated to Network -> LAN and set the IP address to 192.168.0.2. Because my old router had the IP address of 192.168.0.1.

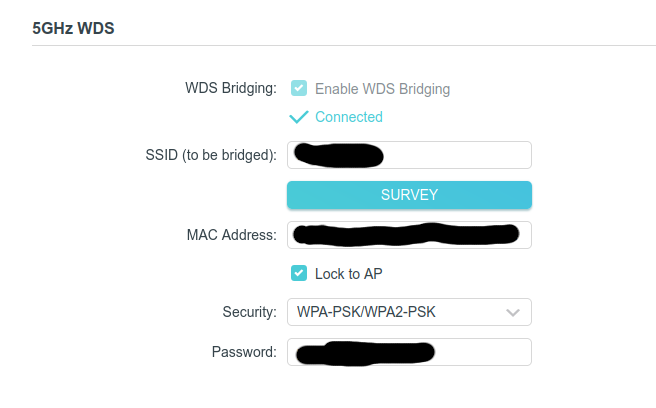
The next step would be to navigate to Wireless -> WDS. Click survey and select the SSID of your root router. If the WDS bridging is successfully you should see a Connected message ✅.
Finally, go to Network -> DHCP Server and disable it. All these operations should be performed on the router that you want to bridge, not the root router! 🕸️
Now that your router has a WDS bridge to the root router, you can connect your PC to it via an Ethernet cable and place it next to your PC. A brand new 5GHz Wi-Fi adapter might have the same price 💰 as a new router 🤑, and to be honest unless you're doing some penetration testing I don't see the need of a WiFi adapter.
Thanks for reading and happy hacking! 🐧