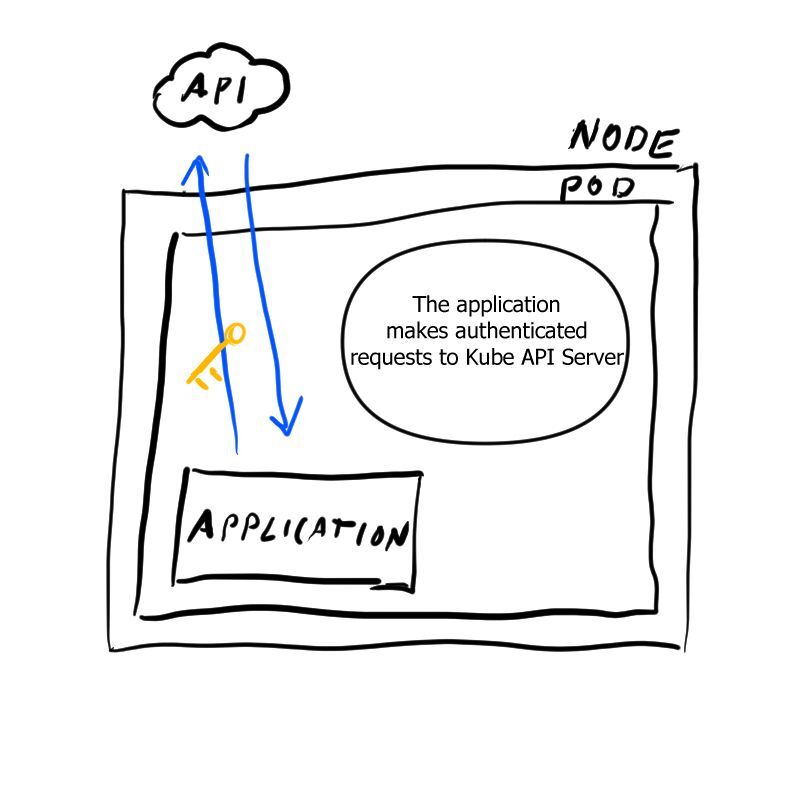

Kubernetes service account for pod
Hi 🙋♂️,
In this article I will talk about how to authenticate your applications to the Kubernetes API via the service accounts feature.
Citing the Kubernetes docs, a service account for a pod: “provides an identity for processes that run in a Pod.
When you (a human) access the cluster (for example, using kubectl), you are authenticated by the apiserver as a particular User Account (currently this is usually admin, unless your cluster administrator has customized your cluster). Processes in containers inside pods can also contact the apiserver. When they do, they are authenticated as a particular Service Account (for example, default).” 💡
Creating a service account
Let’s start Minikube
PS C:\Users\denis> minikube start😄 minikube v1.20.0 on Microsoft Windows 10 Home 10.0.19042 Build 19042✨ Using the docker driver based on existing profile👍 Starting control plane node minikube in cluster minikube🚜 Pulling base image ...🔄 Restarting existing docker container for "minikube" ...🐳 Preparing Kubernetes v1.20.2 on Docker 20.10.6 ...🔎 Verifying Kubernetes components... ▪ Using image gcr.io/k8s-minikube/storage-provisioner:v5🌟 Enabled addons: storage-provisioner, default-storageclass🏄 Done! kubectl is now configured to use "minikube" cluster and "default" namespace by defaultAfter Minikube has started, we can check what service accounts we currently have by typing:
PS C:\Users\denis> kubectl get serviceaccountsNAME SECRETS AGEdefault 1 8d🤖 To create a new service account, we create a new file sa.yaml and apply it with kubectl apply -f .\sa.yaml
apiVersion: v1kind: ServiceAccountmetadata: name: ubuntu-userIf you want to add permissions to the service account, you can use various authorization modules. I will grant ubuntu-user permissions for all APIs using the following ClusterRole and ClusterRoleBinding 🔐
apiVersion: rbac.authorization.k8s.io/v1kind: Rolemetadata: namespace: default name: all-apisrules:- apiGroups: ["*"] resources: ["*"] verbs: ["*"]---apiVersion: rbac.authorization.k8s.io/v1kind: RoleBindingmetadata: name: all-apis-binding namespace: defaultsubjects:- kind: ServiceAccount name: ubuntu-user namespace: defaultroleRef: kind: Role name: all-apis apiGroup: rbac.authorization.k8s.ioUbuntu Instance
For demonstration purposes I’m going to create a new deployment based on an Ubuntu image and ssh into it. 🐬
Create a new file deployment.yaml and paste the following contents, then create the deployment with kubectl apply -f deployment.yaml
apiVersion: apps/v1kind: Deploymentmetadata: name: ubuntu-dev labels: app: ubuntu-demospec: replicas: 1 selector: matchLabels: app: ubuntu-demo template: metadata: labels: app: ubuntu-demo spec: serviceAccountName: ubuntu-user containers: - name: ubuntu-demo image: ubuntu:20.04 command: ["/bin/sleep", "3650d"]It will create an Ubuntu instance inside Kubernetes. To get a shell, run the following commands. Don’t forget to replace the pod name with your own.
PS kubectl get podsNAME READY STATUS RESTARTS AGEubuntu-dev-68f4b48dd-xlcqp 1/1 Running 0 78sPS kubectl exec --stdin --tty ubuntu-dev-68f4b48dd-xlcqp -- /bin/bashroot@ubuntu-dev-68f4b48dd-xlcqp:/#🔧To install kubectl we need to run the following commands:
apt-get update && apt-get -y install curl gnupg2touch /etc/apt/sources.list.d/kubernetes.list && echo "deb http://apt.kubernetes.io/ kubernetes-xenial main" | tee -a /etc/apt/sources.list.d/kubernetes.listcurl -s https://packages.cloud.google.com/apt/doc/apt-key.gpg | apt-key add -apt-get update && apt-get install -y kubectlAfter the commands have finished running, we can execute any kubectl command from inside our pod and we didn’t have to worry about configuration files or authenticating our pod. For example:
root@ubuntu-dev-68f4b48dd-fkhht:/# kubectl get servicesNAME TYPE CLUSTER-IP EXTERNAL-IP PORT(S) AGEkubernetes ClusterIP 10.245.0.1 <none> 443/TCP 2d8hThis works because Kubernetes injects some environment variables into the pod and auto mounts some secrets as well:
root@ubuntu-dev-68f4b48dd-fkhht:/# env | grep KUBEKUBERNETES_SERVICE_PORT_HTTPS=443KUBERNETES_SERVICE_PORT=443KUBERNETES_PORT_443_TCP=tcp://10.245.0.1:443KUBERNETES_PORT_443_TCP_PROTO=tcpKUBERNETES_PORT_443_TCP_ADDR=10.245.0.1KUBERNETES_SERVICE_HOST=10.245.0.1KUBERNETES_PORT=tcp://10.245.0.1:443KUBERNETES_PORT_443_TCP_PORT=443root@ubuntu-dev-68f4b48dd-fkhht:/# ls /var/run/secrets/kubernetes.io/serviceaccount/ca.crt namespace tokenThis mechanism allows kubectl and various client libraries to pick up configuration automatically. ✨
🧼To reset our work, we can run:
kubectl delete -f .\deployment.yamlkubectl delete -f .\permissions.yamlkubectl delete -f .\sa.yamlThank you for reading! 📖